If you are a freelancer or a contractor, you will likely come across a W-9 form at some point in your career. A W-9 form is an official document that helps companies or clients collect the required information from you for tax purposes.
In this article, we will guide you through how to write W-9 forms and do so successfully. We’ll also cover the form’s standard elements, common pitfalls to avoid, and some best practices for drafting a successful document. By the end, you’ll also learn how to create a W-9 form effortlessly with Fill.
How to Create a Form W-9: Step by Step
Writing a W-9 form might seem challenging for first-timers, but it is more straightforward than it looks. It only requires a modicum of attention to detail and accuracy.
Here are some basic information and tips to help you navigate each step of the process:
1. Download the W-9 form
You can find the W-9 form on the Internal Revenue Service (IRS) website. If you download the form, use the latest version, as the document is occasionally updated. Alternatively, you can use a customizable template provided by Fill.
2. Fill out your basic information
When filling out your personal information, use your legal name as it appears on your tax documents. This act mitigates confusion or mistakes when reporting your income to the IRS. If you have recently changed your name, don’t forget to update your information with the Social Security Administration or the IRS before completing the form.
3. Provide your tax classification
Choosing the correct tax classification is critical, as it determines how you are taxed and reported to the IRS. If unsure of your tax classification, consult a tax professional or refer to the IRS guidelines.
4. Complete the certification section
In the certification section of the form, you must confirm that your provided information is accurate and that you are not subject to backup withholding, which is a penalty for inaccurate income reporting. If you’re uncertain whether you are subject to backup withholding, speak with a tax professional.
5. Sign and date the form
You must sign the W-9 form with your legal signature, which is the signature that appears on your tax documents. You can also use your electronic signature if you’re using a Fill template. Be sure to include the date and ensure that it is accurate.
By following these step-by-step instructions and paying close attention to detail, you can accomplish your W-9 form accurately and efficiently. Remember to keep a copy of the document for your records and update it as necessary to reflect any changes in your information or tax classification.
Essential Elements of a W-9 Form
This section expands on each component required by the W-9 Form as outlined in the guide above. When drafting such a form, you must include the following elements:
- Name and address: Your personal information must match the data on file with the IRS.
- Tax identification number: You must provide your unique tax identification number, which could be your Social Security Number (SSN) or an Employer Identification Number (EIN).
- Tax classification: You must indicate your tax classification. It determines how you are taxed and reported to the IRS.
- Certification: You must certify that the information you provided is accurate and that you are not subject to backup withholding.
Recommended Best Practices for Drafting W-9 Forms
When filling out a W-9 form, it is necessary to follow recommended best practices to ensure that the information you provide is accurate and up-to-date. Here are some lesser-known tips and strategies that you should consider when completing a W-9 form:
1. Avoid using nicknames or shortened names
As mentioned, you must use your full legal name as it appears on your tax documents. Avoid using nicknames or shortened versions of your name, which can result in inconsistencies and delays.
2. Double-check the address format
Make sure to follow the correct address format when providing your mailing address. This step can help avoid mail delivery issues and ensure your information is processed accurately.
3. Use the correct TIN format
The TIN format depends on the tax classification you select. For example, if you are a sole proprietor, your TIN is your SSN. However, your TIN is your EIN if you are a Limited Liability Company (LLC). Make sure to use the correct format for your TIN to avoid errors.
4. Don’t assume you’re exempt from backup withholding
Even if you have not been subject to backup withholding in the past, you may still be subject to it at any time. It is vital to review the criteria for backup withholding and ensure that you are not subject to it before certifying on the W-9 form.
5. Keep your W-9 form up-to-date
If any of the information you provided on the W-9 form changes, such as your name or tax classification, update the form as soon as possible. This extra step can help avoid potential issues with the IRS and ensure your information is authentic.
Using Fill for W-9 Form Creation
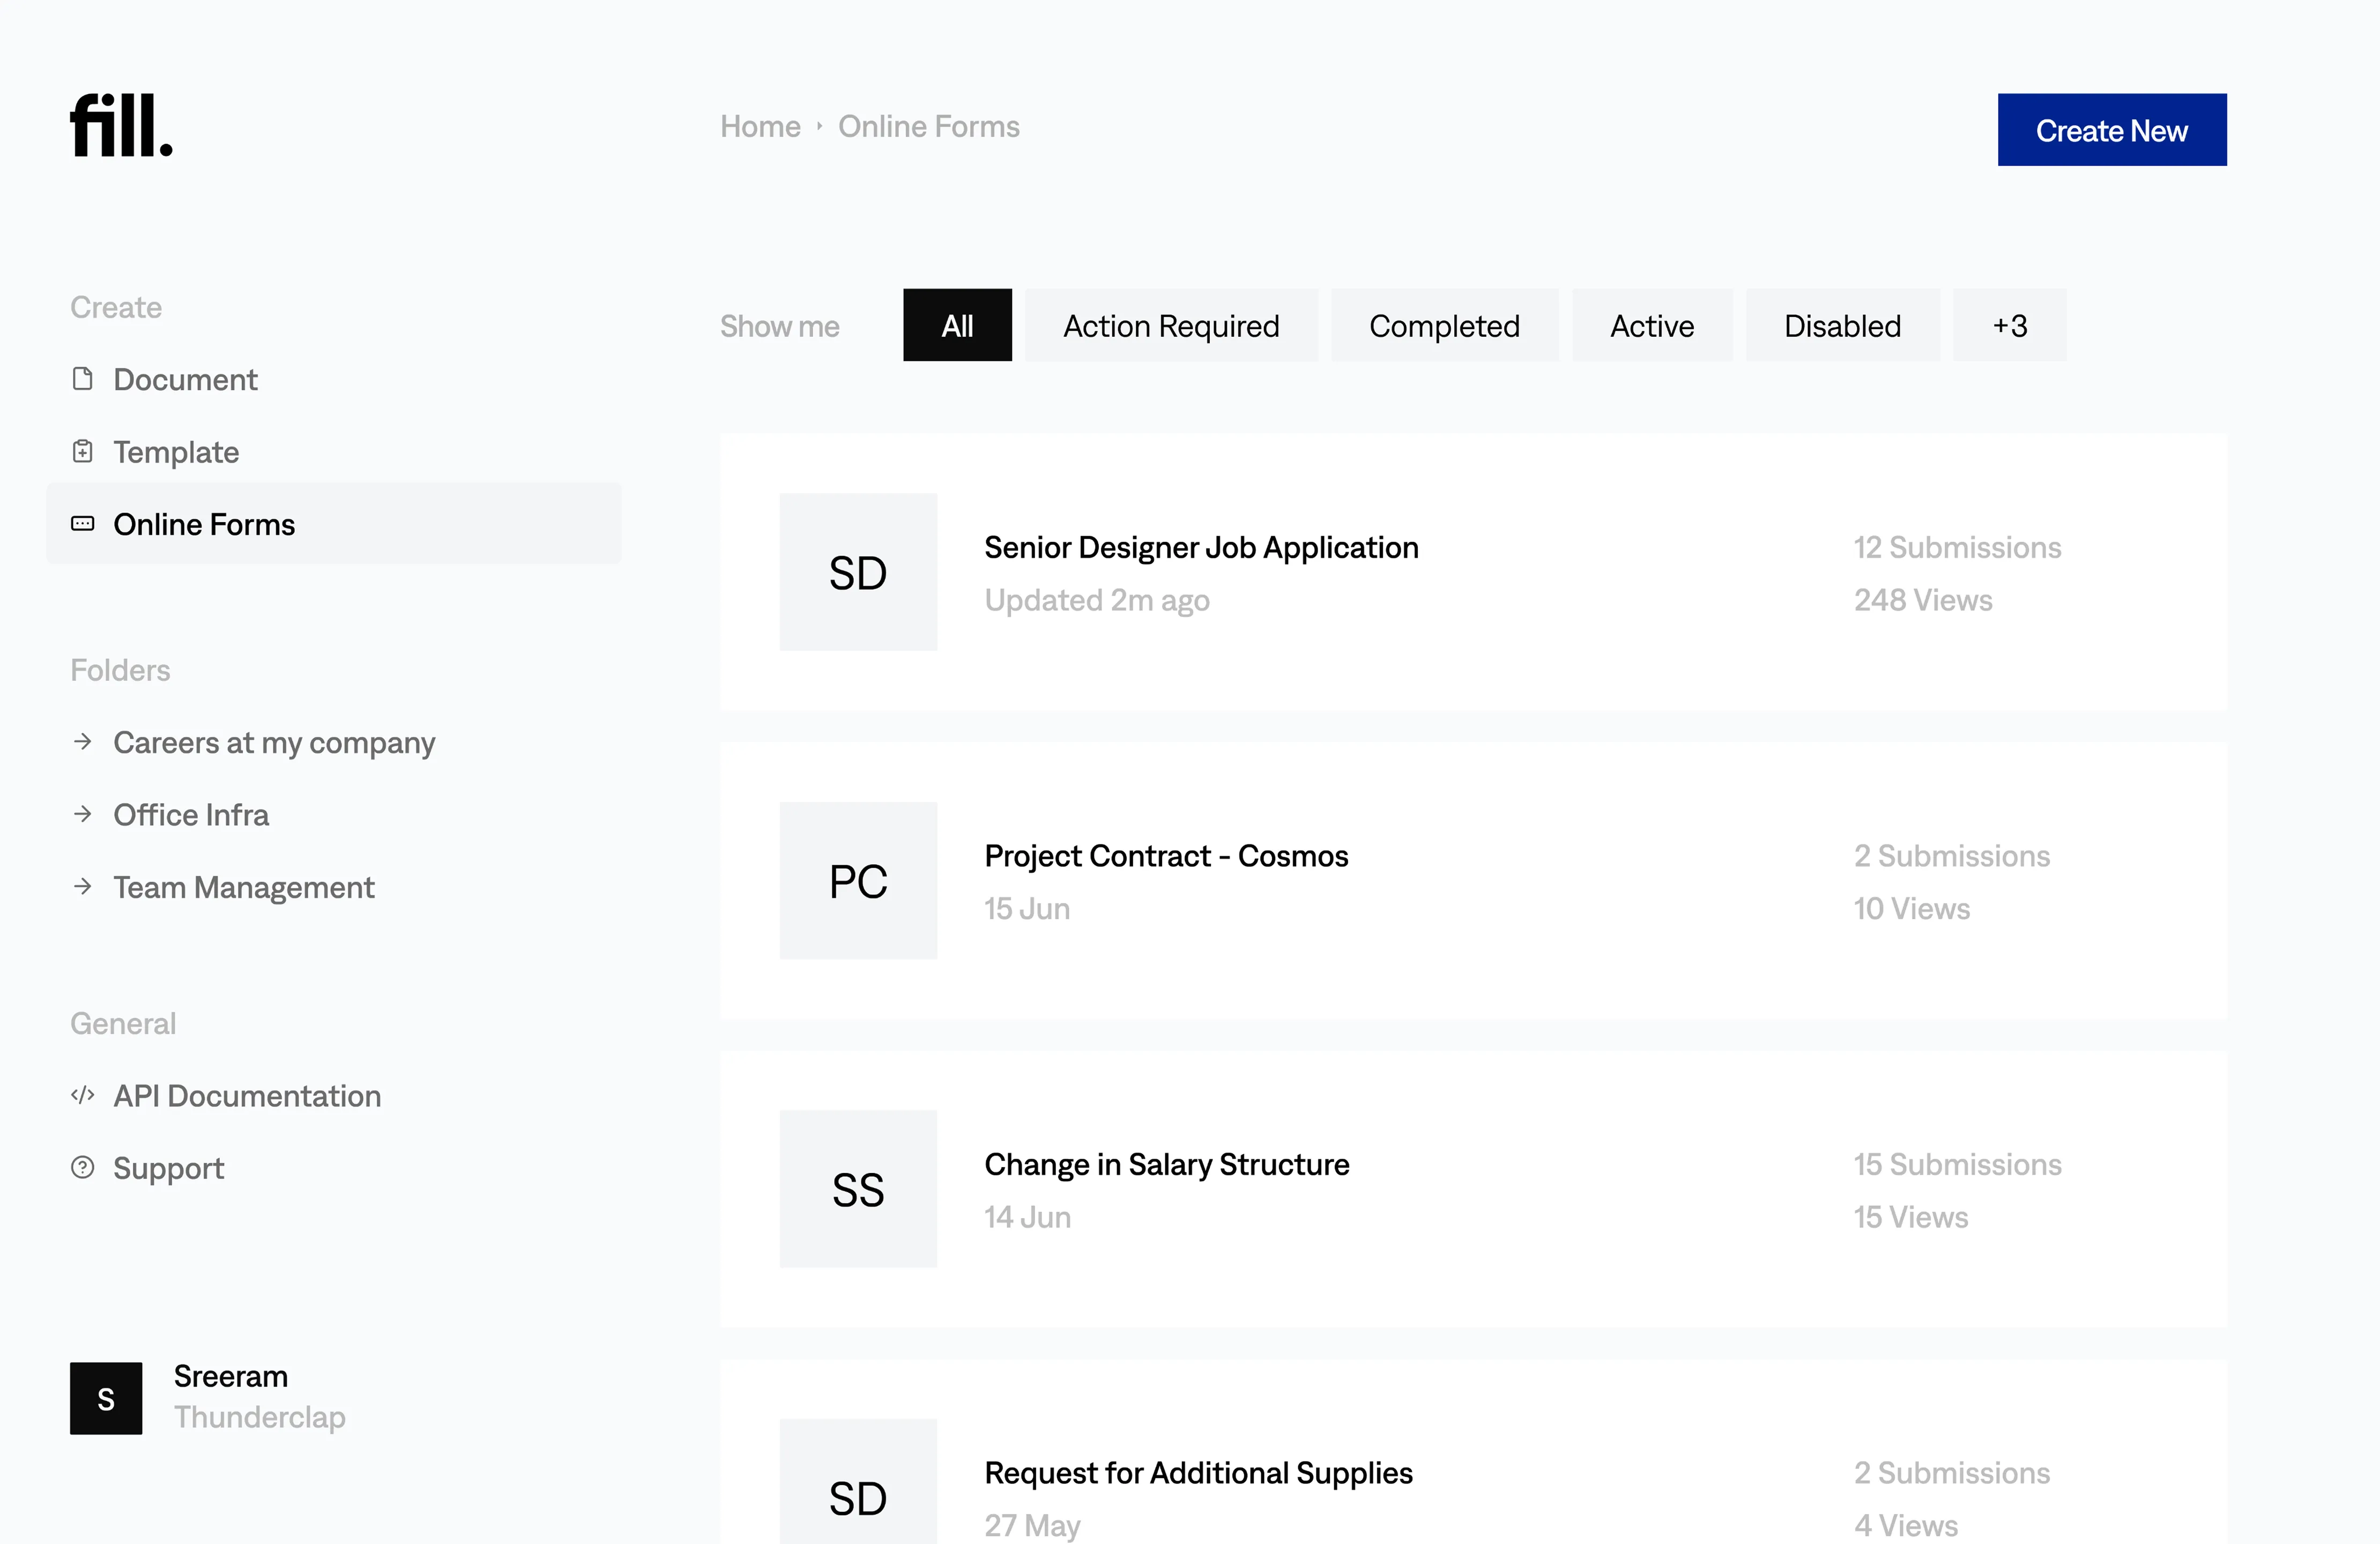
Creating a W-9 form can be time-consuming and tedious. However, using an online platform like Fill can simplify the process and save time. Fill is a user-friendly eSignature app that allows you to digitally create, edit, and sign documents. With Fill, you can quickly use our W-9 form template and sign it electronically, making the process swift and efficient.
With advanced features such as customizable templates, cloud-based storage, and cross-platform functionality, it’s no wonder why thousands of businesses worldwide trust Fill.
Sign up for a 7-day free trial now and make your W-9 form creation more seamless.